Are you looking for the ultimate guide on how to assemble and disassemble your EG01A Viper Shieldon Knife?
If so, then you’ve come to the right place!
The EG01A Viper Shieldon is one of the highly regarded EDC knife models on the market today. It is an impressive multi-functional tool with sturdy construction and reliable performance.
Assembling it correctly and safely is essential to making sure you get the most out of your knife.
This comprehensive guide will take you through each step of the process, from assembly to disassembly.
With detailed instructions and helpful tips, this article will ensure that you can confidently handle any knife-related task with ease. So let’s get started!
Disassembly of the Viper Knife
Start using the T8 screws
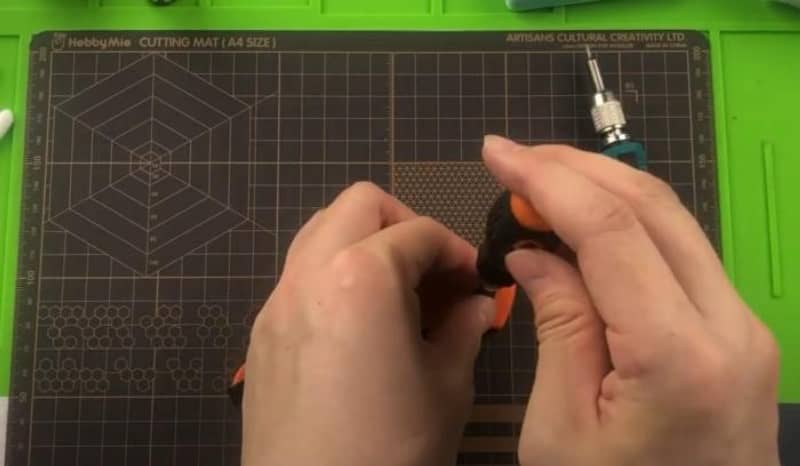
The first step of disassembling your EG01A Viper Shieldon Knife is to use the T8 screws. To open the knife, begin by loosening the screws.
Then, carefully pull apart each side of the handle until the blade is exposed.
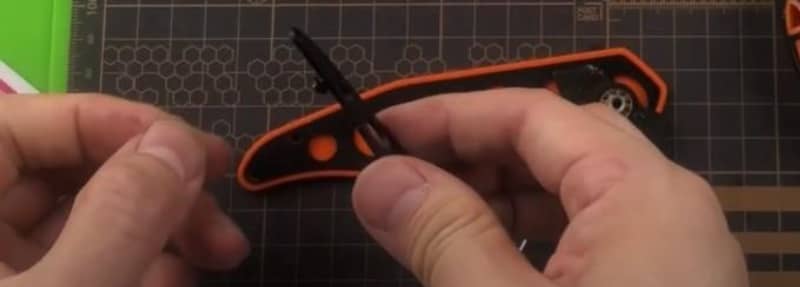
Now, it’s time to remove the blade. To do this, you will need to unscrew the two main screws located on each side of the knife.
Careful with the blade
Once these are removed, carefully lift out the blade from its place in between both sides of the handle.
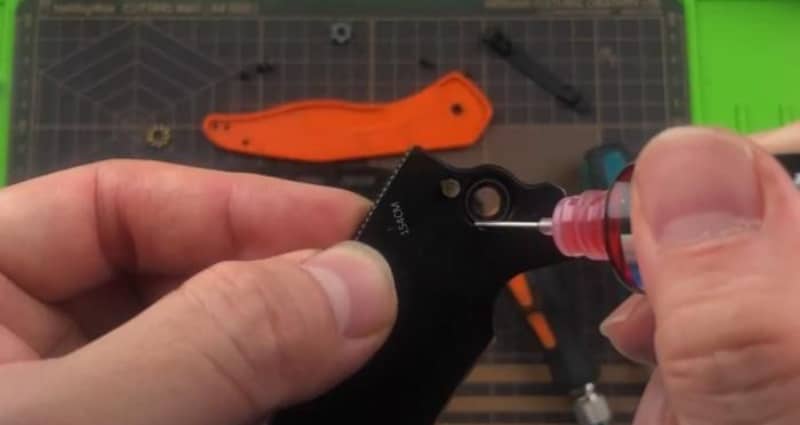
The blade is made of 154 CM which is a high-quality steel material, so be sure to handle it with care.
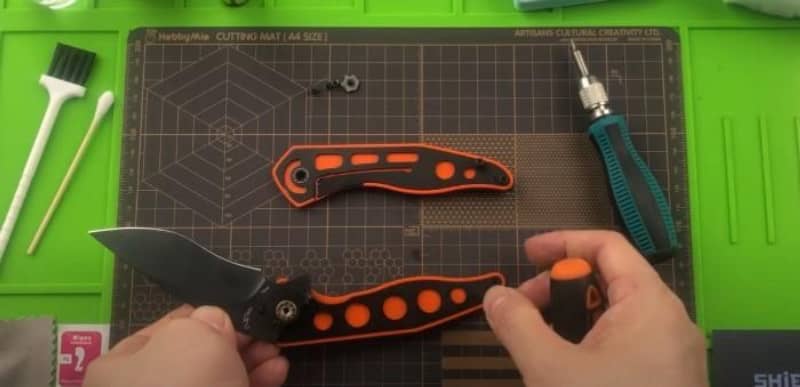
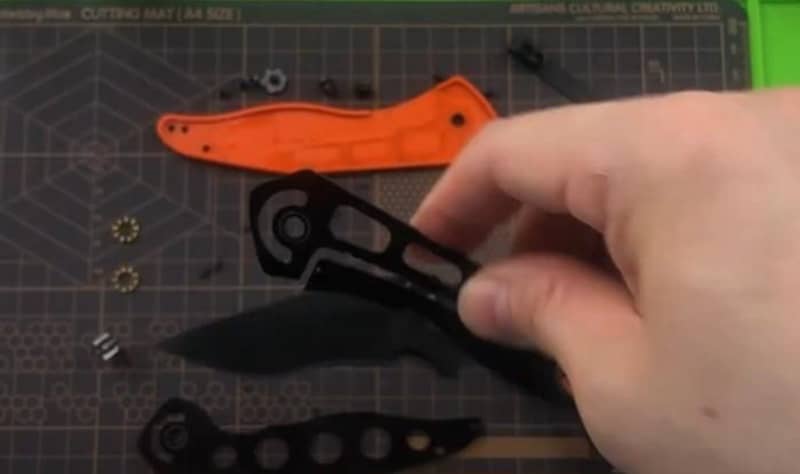
Separate the liner from the G10 scale
The next step in the disassembly of your EG01A Viper Shieldon Knife is to separate the liner from the G10 scale.
This process ensures that all components are properly aligned and allows for easier access when it comes to cleaning and maintenance.
The G10 scale is an ultra-durable material, designed to withstand high temperatures and extreme conditions.
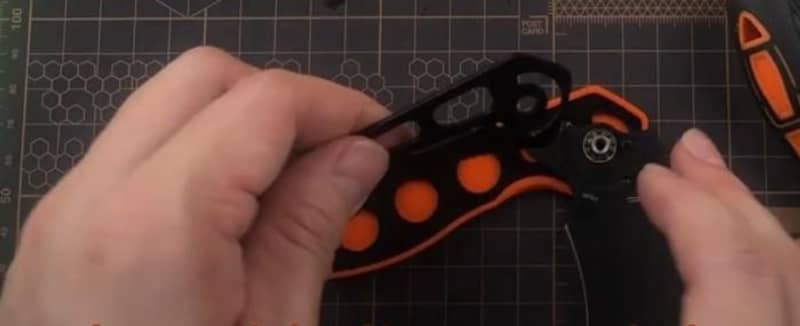
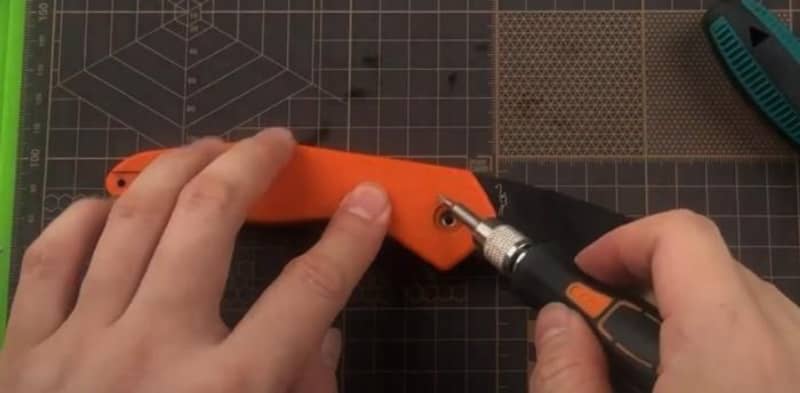
Remove the pocket clip screw

The pocket clip is attached to the scale from the liner.
As you can see in the picture, there is a screw that needs to be removed in order to separate the liner from the scale.
Using the appropriate tools, unscrew the pocket clip and remove it from its spot on the knife.
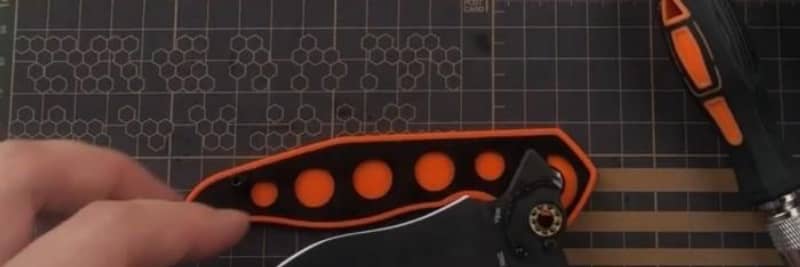
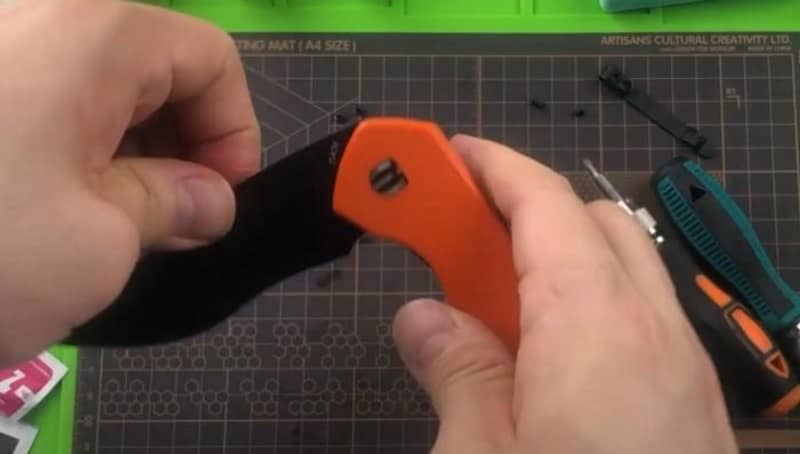
Black titanium coating of liner
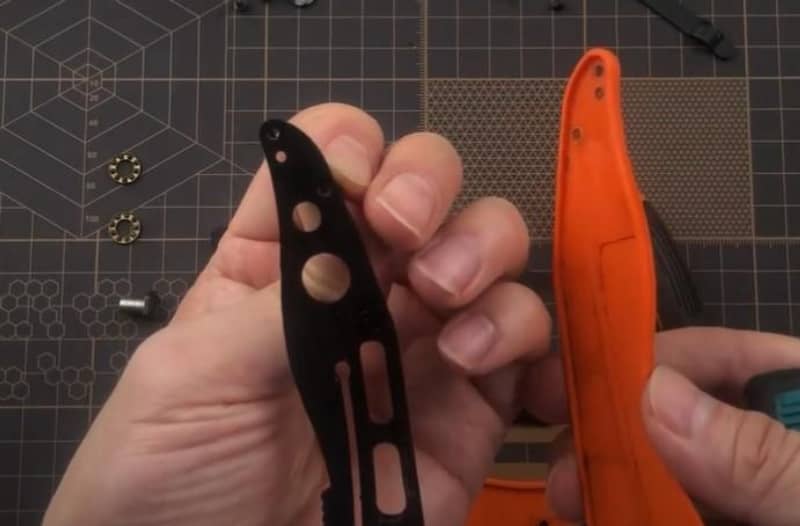
The black titanium coating on the liner of the EG01A Viper Shieldon Knife provides an aesthetic that is truly remarkable.
This high-end finish gives the knife an unmistakable look while also providing superior protection against wear and tear.
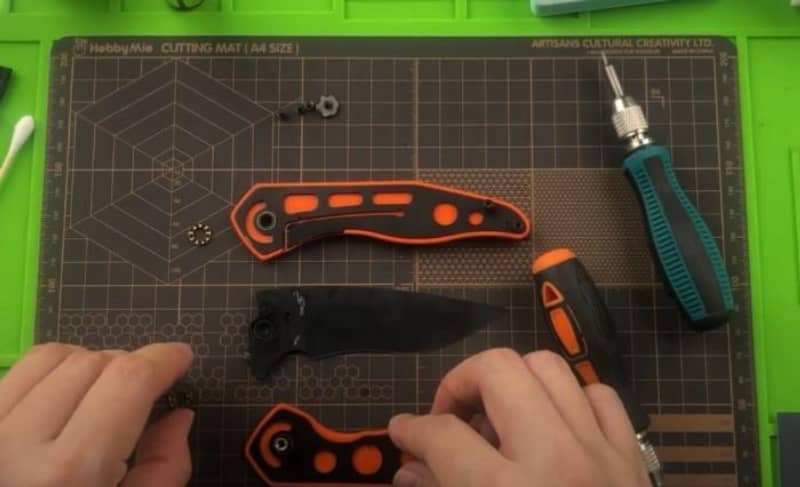
The final look of the disassembly
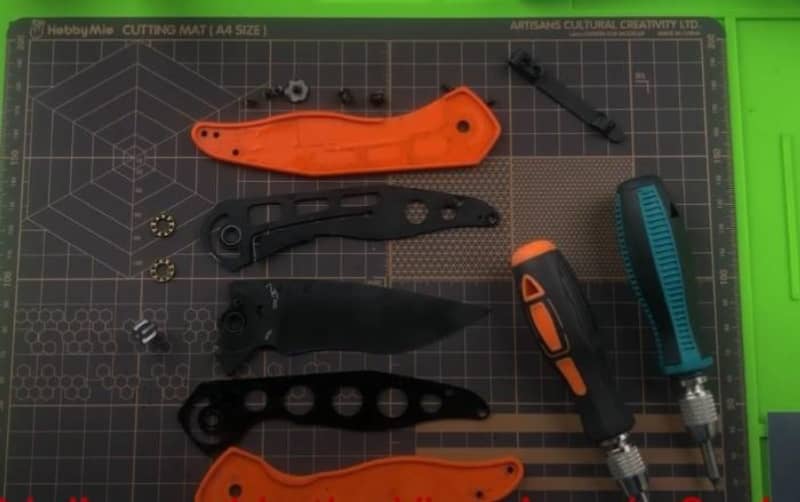
It is easy to achieve a perfect disassembly of your EG01A Viper Shieldon Knife if you take the time to follow all the steps listed above.
By doing so, you will have the satisfaction of seeing your knife in its full glory after taking it apart and putting it back together again.
Detailed Tips on How to Clean the EG01A Viper
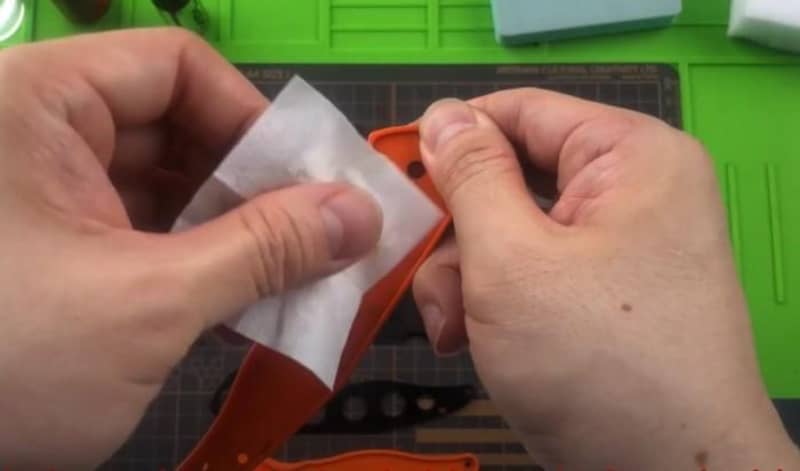
Anti-rust oil and wipe
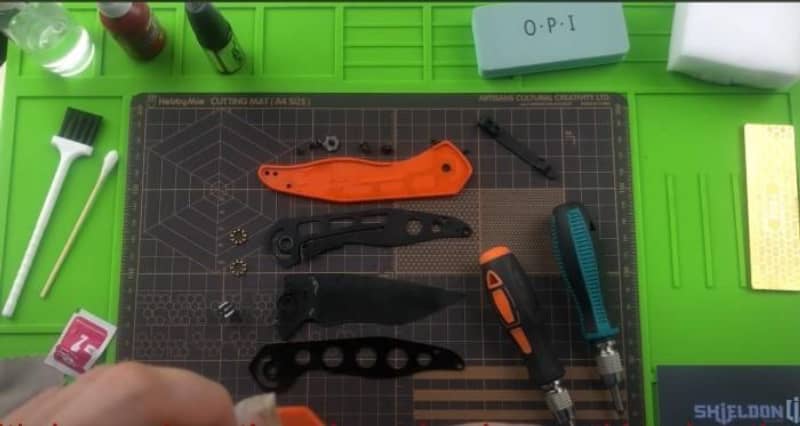
When it comes to cleaning knives, it is important to remember that lubrication helps prevent rust.
After each use, the EG01A Viper Shieldon Knife should be wiped down with a clean cloth and coated with anti-rust oil.
This will keep the blade in top condition for many years to come.
Clean the black parts first
The black areas in the knife should be cleaned first, as they are more prone to staining and dirt accumulation.
Using a clean cloth or soft brush, gently scrub any grit or grime that may have accumulated.
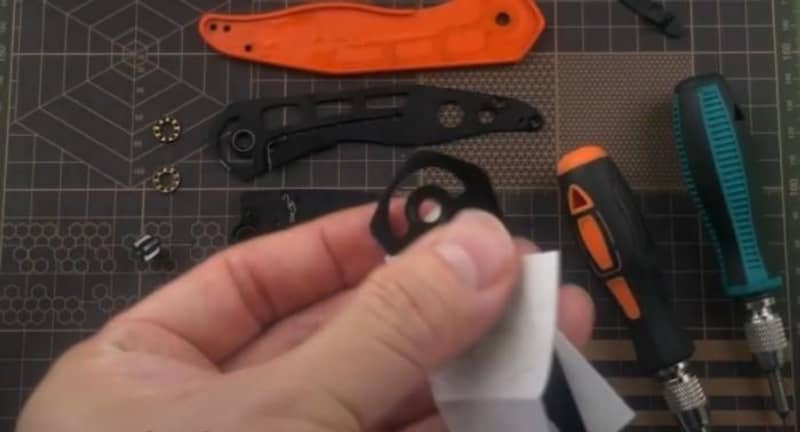
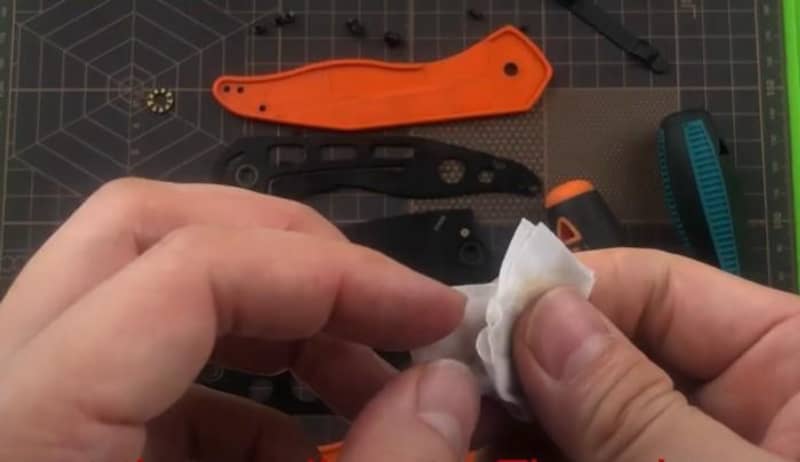
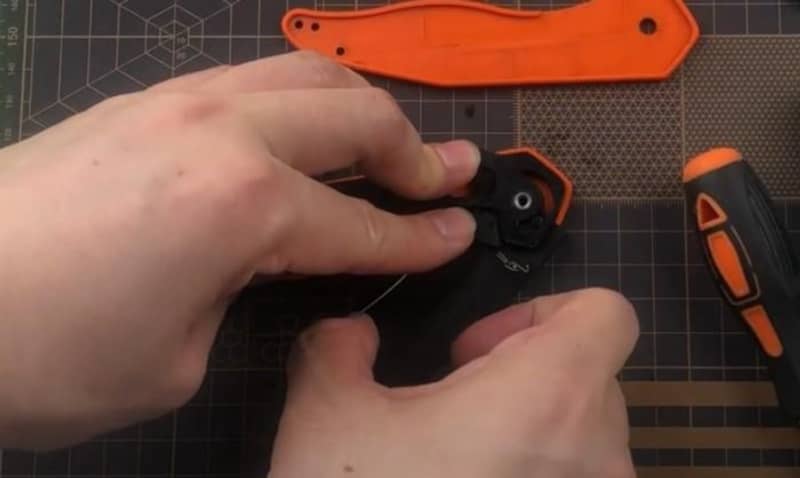
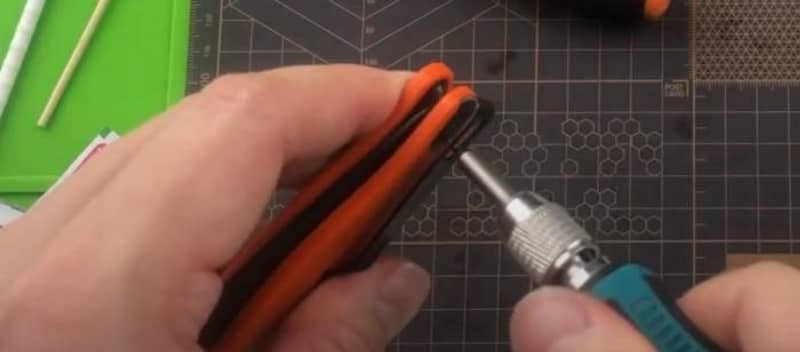
Clean the pivot
Pivot is one of the areas that should be regularly cleaned and inspected.
Using a small brush, scrub away any dirt or residue that may have accumulated in the pivot area.
This will ensure that your knife is able to rotate smoothly and efficiently when in use.
Or like in the image above, you can use an anti-rust oil and wipe to lubricate the pivot.
Careful on cleaning the liner lock
While the liner lock is one of the most convenient features of an EDC knife, it should be handled with extra care during cleaning.
When cleaning a liner lock, take special care not to apply too much pressure or force as this may cause damage to the components.
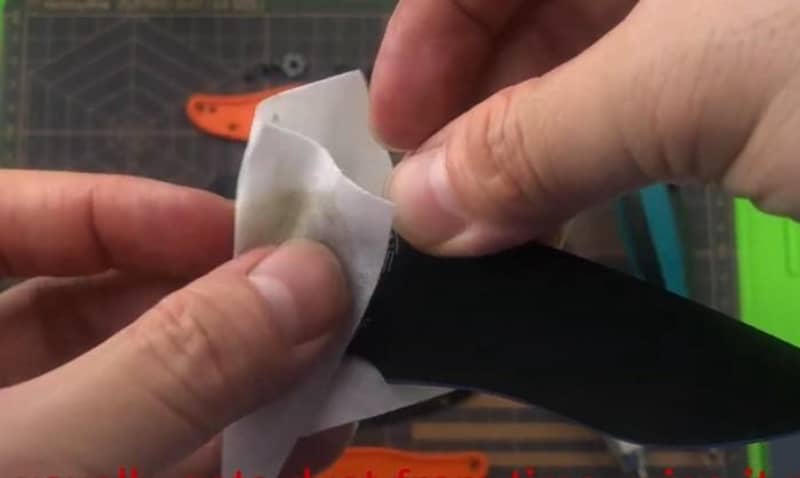
Clean the back scale of the knife
Finally, when cleaning your EG01A Viper Shieldon Knife, don’t forget to wipe down the back scale.
It is important to remove any dirt or debris that may have accumulated in this area so that the locking mechanism can function properly.
Cleaning small parts such as ceramic ball bearing
Cleaning ceramic ball bearings is an essential part of proper knife maintenance.
Ceramic bearings are used in many EDC knives, and they have a number of advantages over steel bearings.
These include increased durability, resistance to corrosion and wear, and improved performance.
In order to ensure that the knife functions smoothly and effectively, it is important to regularly clean these bearings with an appropriate solvent.
Assembly of EG01A Viper Knife
Start with the backspace and the liner

When assembling an EG01A Viper Shieldon Knife, it is important to start with the backspace liner and the liner in the middle.
This will ensure that all components are properly aligned and that everything fits together correctly.
Put the pivot back next
Next, put the pivot back into place.
To do this, you will need to screw the two main screws on each side of the knife.
Add pivot lubricator to the detent
Adding a pivot lubricator to the detent of an EG01A Viper Shieldon Knife is crucial for its overall performance.
The detent, which is located at the base of the blade where it locks in place, helps ensure that the blade stays securely closed when not in use.
With proper lubrication and maintenance, these components can remain functional and reliable for a long time.
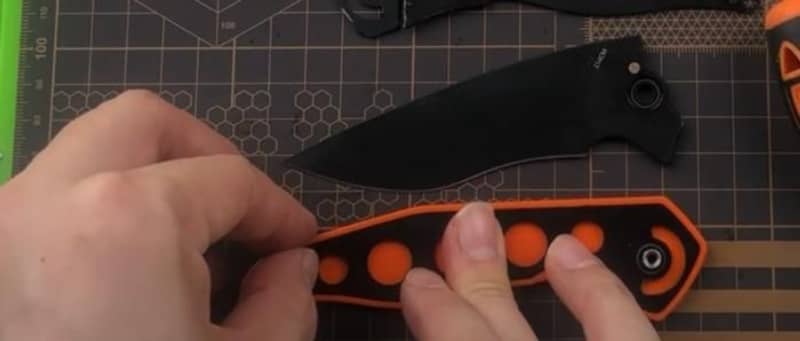
Place the ball bearing and the blade
Once the pivot is in place, it’s time to add the ball bearings and the blade.
Make sure that the ball bearings are aligned correctly before securing them into their respective slots.
Finally, gently slide the blade into its place between both sides of the handle and secure it with screws.
Put the show side liner and the scale
Put the side liner and the scale back in place.
Make sure that the liner is fitted correctly so that it doesn’t come loose during use.
Close the scale
Make sure to properly close the scale to prevent losing it while in use.
Make sure the standoffs are in place to hold the liners from both sides
The standoffs in the EG01A Viper Shieldon Knife are used to hold the liners from both sides of the knife.
These standoffs also provide additional stability and support, allowing for smoother opening and closing actions.
Put the screws back in the body structure of the knife
Putting the screws back in place is a crucial step when assembling an EG01A Viper Shieldon Knife.
The screws are responsible for holding all of the components together and ensuring that they remain securely in their respective places.
It is important to take extra care when putting the screws back into the body structure of your knife, as any mistakes can cause serious damage or malfunctioning parts.
Fix the centering
Fixing the centering of a knife is an essential step in ensuring that it functions properly and provides a safe and reliable cutting experience.
The centering of the knife ensures that the blade aligns correctly with the handle, allowing for balanced and accurate cutting action.
This is especially important on knives with folding blades since misalignment can cause the blade to stick or jam when in use.
Insert the pocket clip
The last step in assembling an EG01A Viper Shieldon Knife is to insert the pocket clip.
This pocket clip allows you to easily carry your knife around with you wherever you go and ensures that it remains securely in place when not in use.
Takeaways
Assembling and disassembling an EG01A Viper Shieldon Knife is not as intimidating as it may seem.
With the right tools, lubricants, and instructions, anyone can successfully assemble or disassemble their EDC knife.
Taking proper care of your knives by regularly cleaning them with anti-rust oil will help keep them in top condition for many years to come.
Remember that when assembling a folding blade knife such as the EG01A Viper Shieldon Knife, extra caution should be taken to ensure that all components are properly aligned and secured before use.
Click to have more Shieldon EDC knives and tools fun.


