Welcome to our informative guide on how to expertly disassemble the MP01A Rain Shieldon Knife!
Whether you’re a seasoned knife enthusiast or a curious beginner, understanding the intricate components of this exceptional tool is essential for maintenance and upgrades.
In this comprehensive walkthrough, we’ll take you step-by-step through the disassembly process, unraveling the secrets behind this masterpiece of craftsmanship.
Unleash your inner tinkerer and gain valuable insights into the inner workings of the MP01A Rain Shieldon Knife as we delve into its construction, providing you with the knowledge to enhance your knife experience like never before.
Let’s dive right in!
Disassembly Tips: How to Remove All Parts of MP01A Shieldon Rain
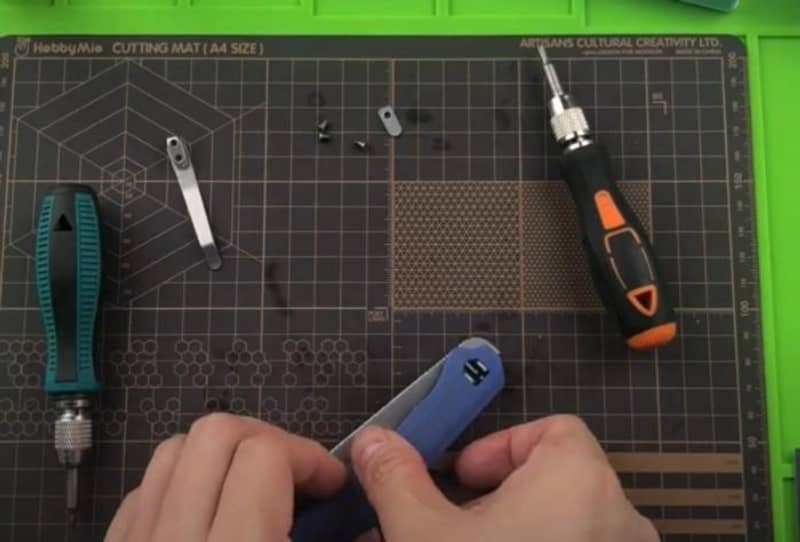
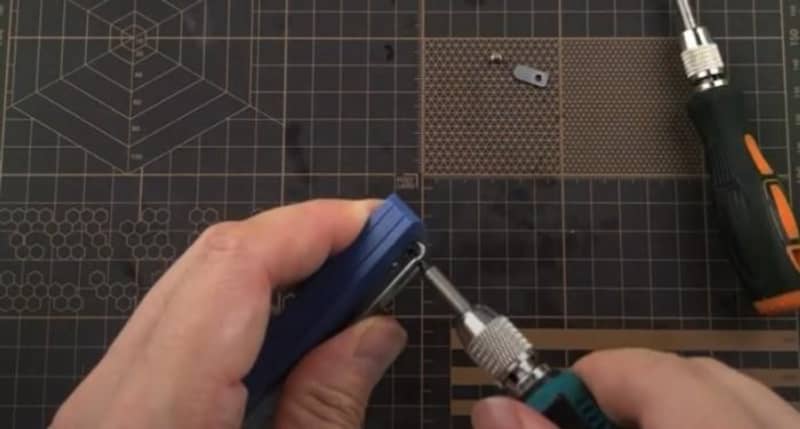
Pivot screw and clip screws
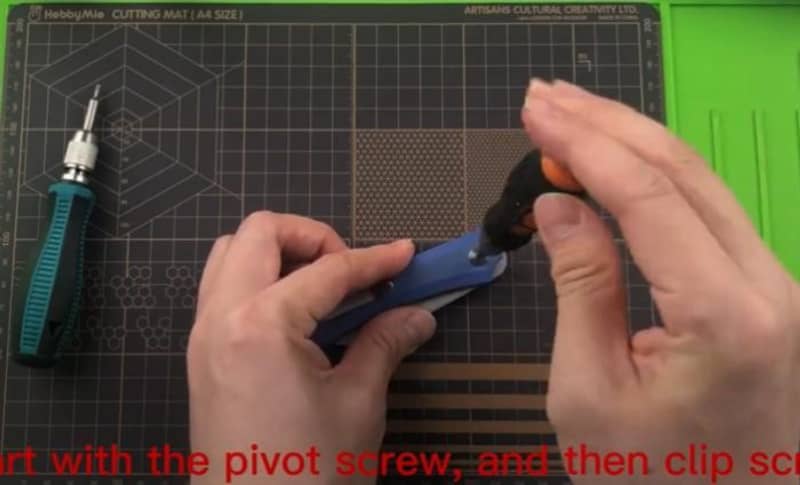
The first step in disassembling the MP01A Rain Shieldon Knife is to remove the pivot screws and clip screws.
These two components are key to unlocking the inner workings of this exceptional tool.
With a few simple tools and some patience, you can easily remove these parts to gain access to their internal mechanisms.
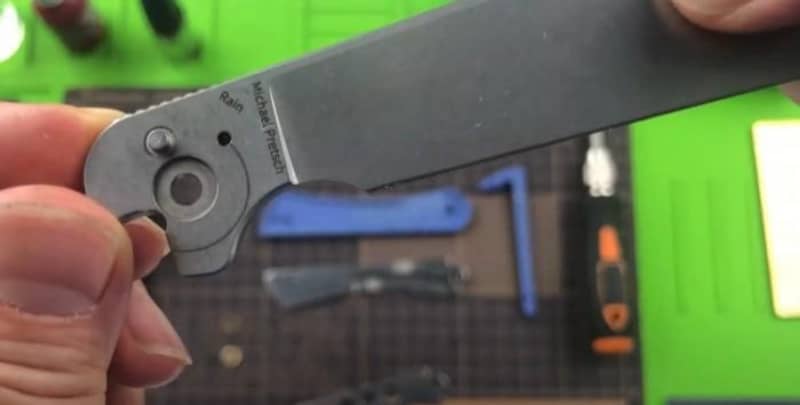
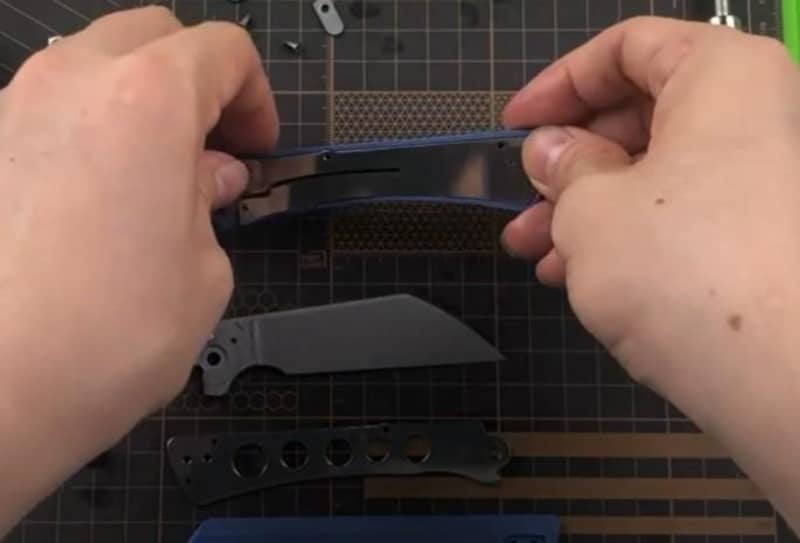
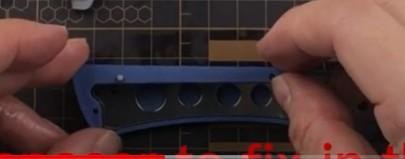
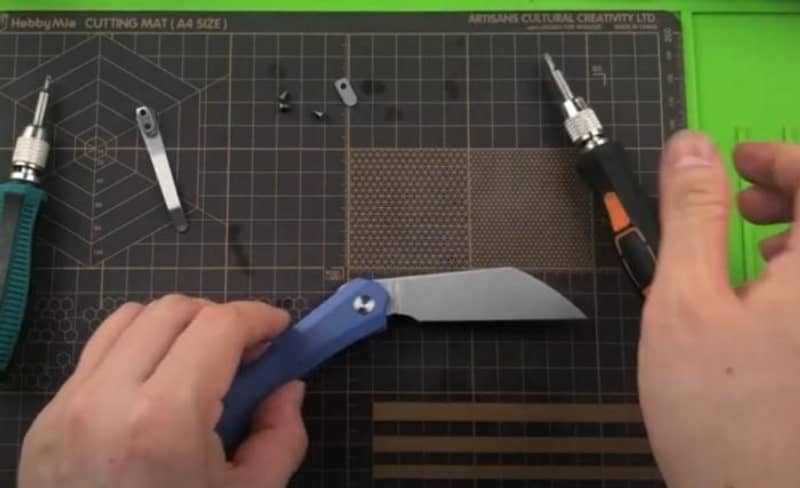
Carefully open the knife

Now that you have the screws removed, it’s time to carefully open the knife.
This can be done with a gentle tug on the blade, but make sure not to force it open as this could cause damage.
Once opened, you will be able to access its inner components such as the frame lock, backspacer, and springs.
You will also see that the liners are separated on the scales.
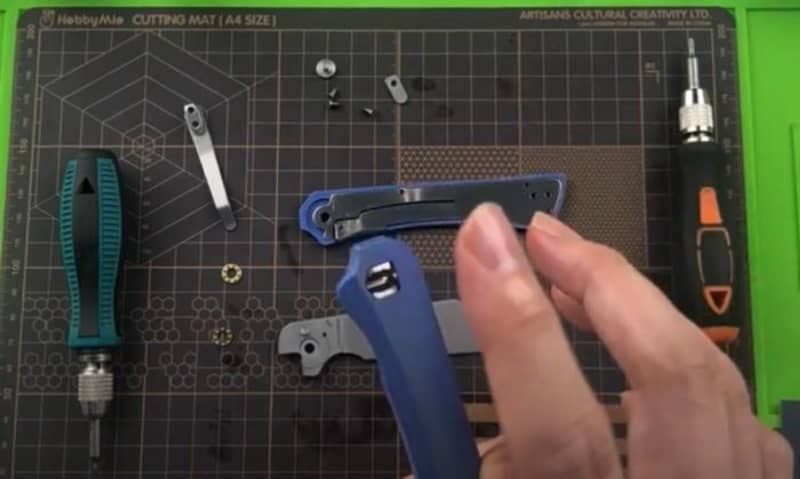
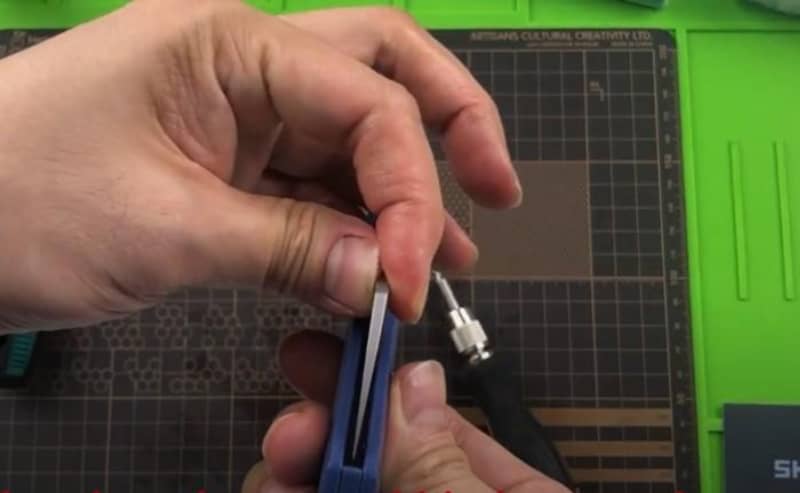
Small screws inside the parts of the knife
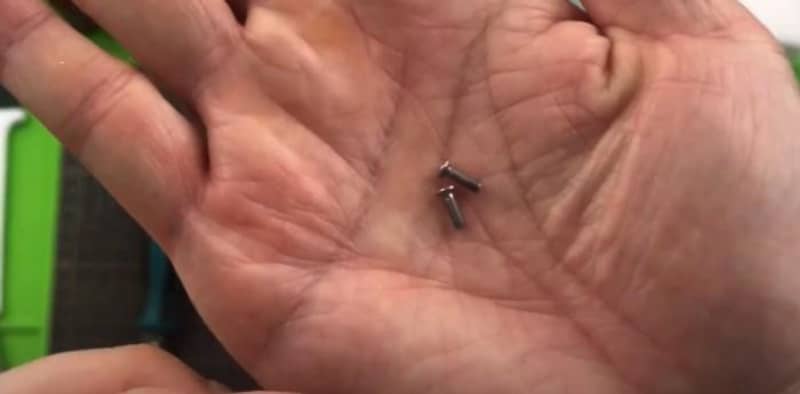
As you can see here, you would appreciate the professional work of Shieldon.
Although the knife looks simple, there are many small screws inside the parts of the knife that need to be removed.
Take your time here and make sure you don’t cross-thread any of them as this could lead to permanent damage.
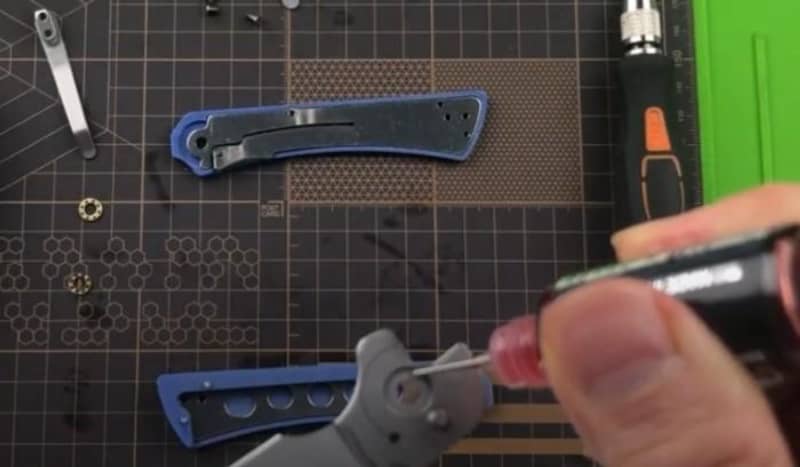
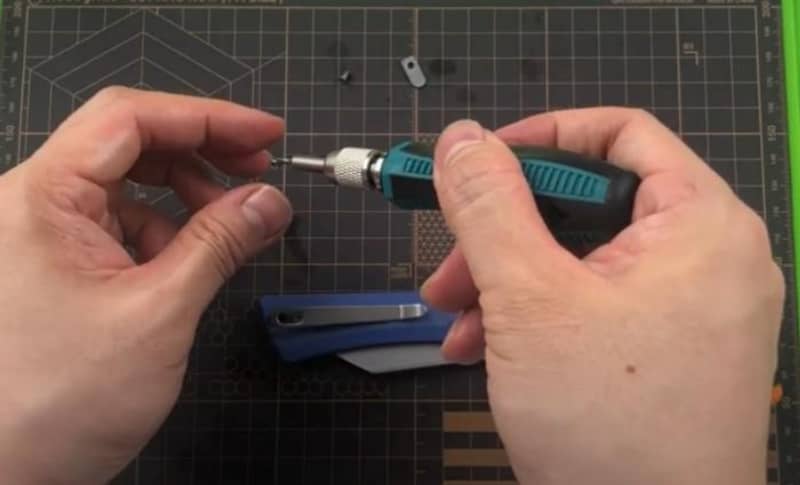
MP01A Shieldon Rain Parts
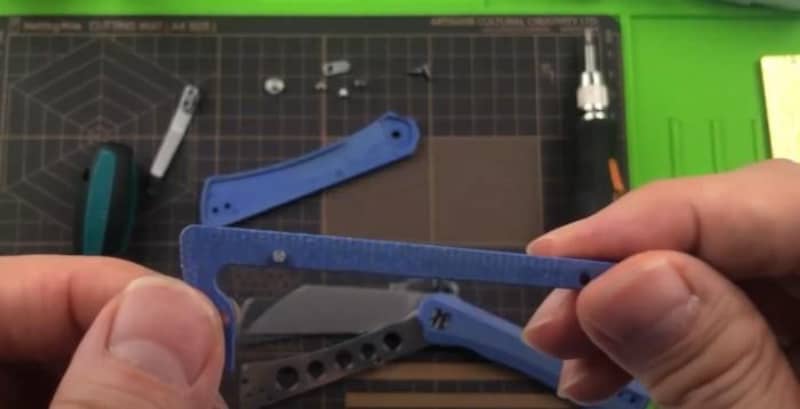
Above is the blue backspacer that is held in place by two small screws.
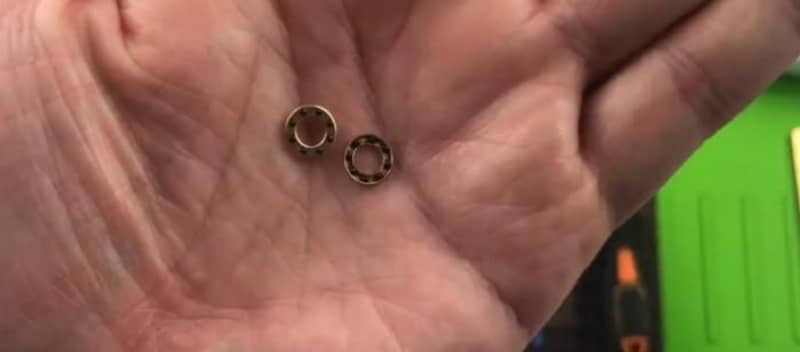
Small caged ceramic ball bearing 8.8mm diameter.
Detent trace from lockface to the detent hole.
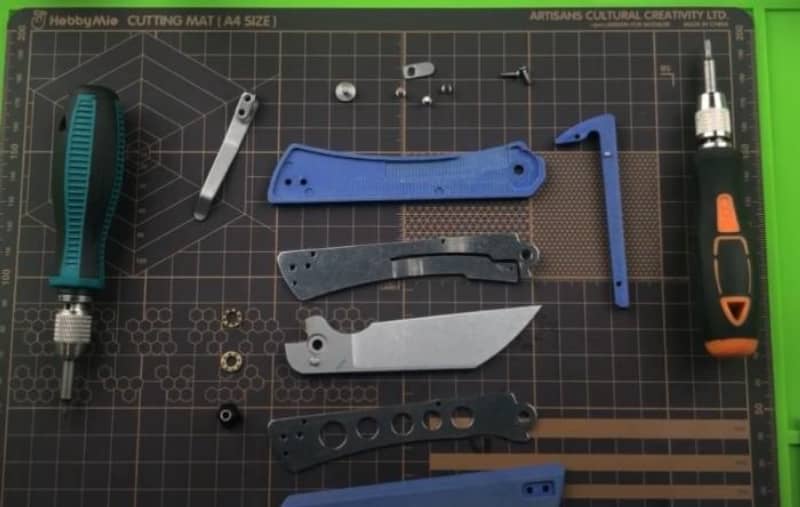
Piece by piece of the MP01A Shieldon Rain knife.
Tips on How to Clean the MP01A Shieldon Rain
Anti-rust wipe oil
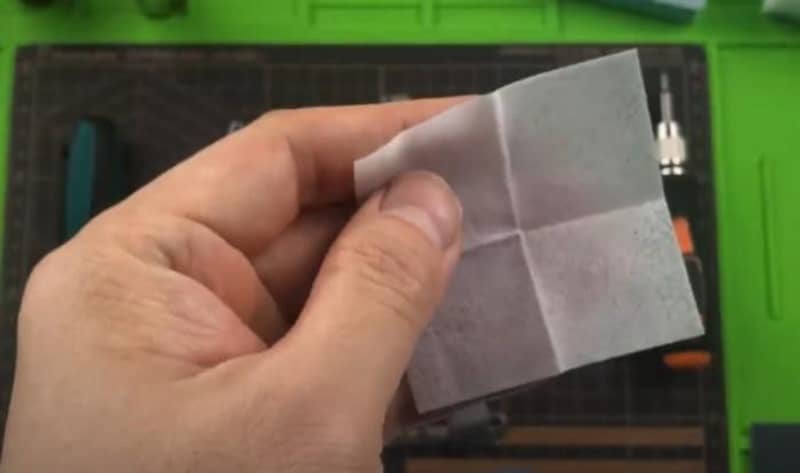
Using anti-rust wipe oil is an essential part of caring for the MP01A Shieldon Rain Knife.
The wipe oil helps protect the blade from rust, corrosion, and other damage caused by atmospheric moisture.
It also lubricates moving parts to keep them functioning properly and prevents wear and tear from occurring.
Additionally, applying a thin coat of wipe oil to the blade regularly helps keep it looking clean and pristine.
Start by cleaning the liner
The first step in cleaning the MP01A Shieldon Rain Knife is to clean the liner.
This can be done by wiping down the inside of the knife with a soft cloth and anti-rust oil.
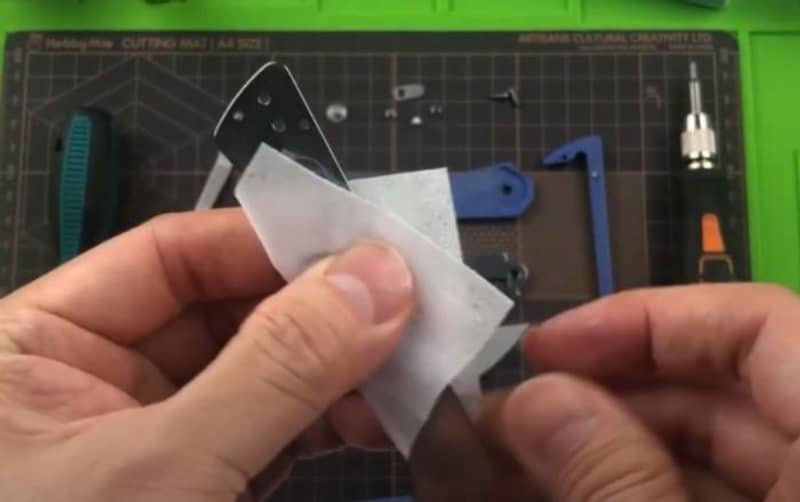
Wipe the blade
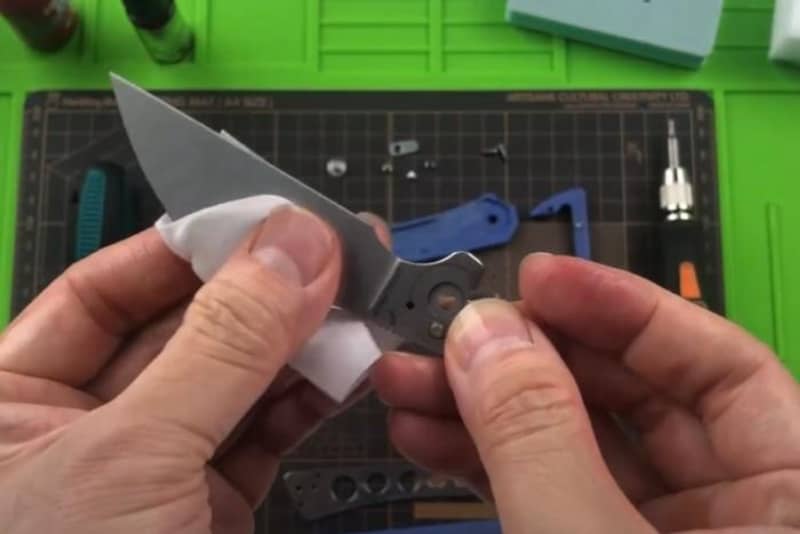
It is essential to properly wipe off the blade of the MP01A Shieldon Rain Knife in order to prevent damage and maintain its pristine condition.
Wiping off the blade regularly will help keep it free from excess moisture, dust, and dirt, which can cause rusting or corrosion.
This will ensure that the knife remains functional and durable for years to come.
Pocket clip cleaning
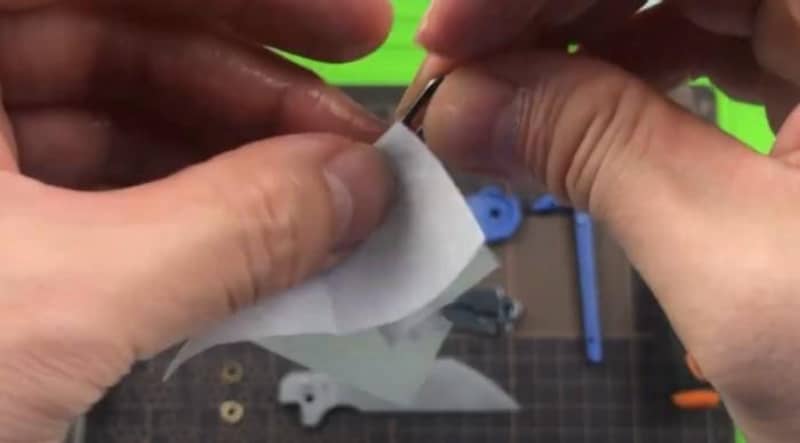
Do not forget to clean the pocket clip as well.
Pocket clips are the ones that are responsible for keeping the knife properly stored in your pocket, and they can easily become dirty and worn from daily use.
You can gently wipe down the clip using a damp cloth and some anti-rust oil to remove any dirt or grime.
This will help keep it looking new and prevent wear and tear from occurring too quickly.
Wipe out extra oil with an extra cloth on the side
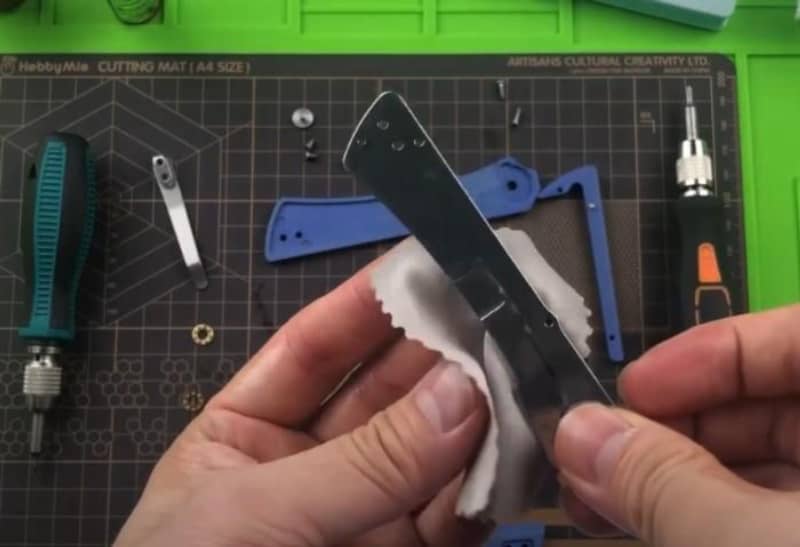
When it comes to maintaining the integrity and longevity of your knives, wiping out extra oil is an important part of the process.
Not only does this prevent excess moisture from building up and potentially causing damage, but it also helps keep your knife looking clean and pristine.
The extra cloth must be used on the side of the blade and on the pocket clip to remove any remaining oil.
Do this carefully to ensure that no damage is done to your knife’s finish.
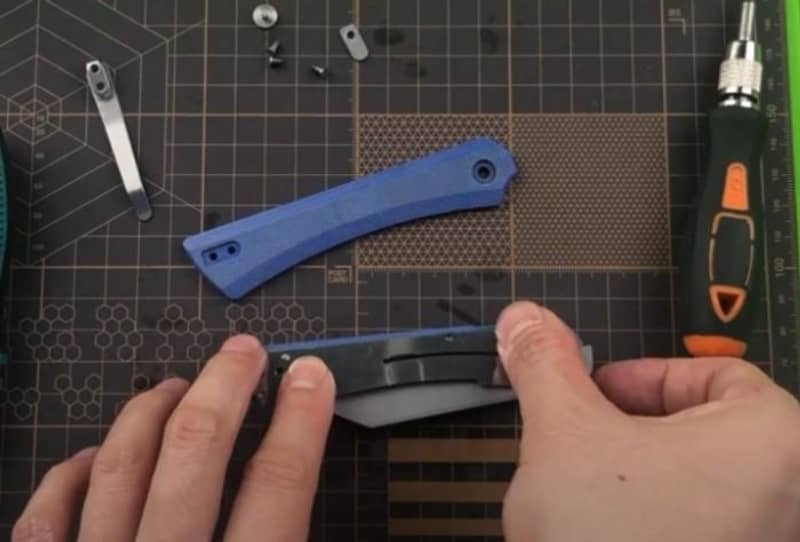
Assembly of MP01A Shieldon Rain
Start with the liner
To start, it’s important to align the liners on the scales.
Make sure they are seated properly and that all screws have been tightened securely and evenly.
Make sure to put the backspacer to put it as the structure of the knife.
The backspacer is a special part of the MP01A Rain Shieldon Knife that helps keep the knife together.
It holds all the pieces in place, so it stays strong and sturdy.
Make sure that you tighten each screw to the same torque, as an uneven distribution could affect the balance of your knife.
Place the pivot back
The pivot is an essential component of the MP01A Rain Shieldon Knife.
The pivot is what allows the blade to move freely when opened and closed; it also provides stability and strength while keeping all components secure.
It consists of two screws which are tightened into place on either side of the blade’s frame lock mechanism.
Lubrication
Lubricating both sides of the MP01A Shieldon Knife is key to keeping the blade functioning properly.
It helps reduce friction and wear and tear, as well as prevents corrosion.
The best way to do this is by first wiping down the inside of the knife with a soft cloth and anti-rust oil.
Then, add a thin layer of lubricant to the insides of the liners, as well as both sides of the blade.
Placing the backside of the liner
Put the back side of the liner into place, making sure that its screws fit properly.
Then, tighten them securely to ensure a tight fit. The liner should not move or wiggle when it is tightened.
Once the liners are in place, replace the small caged ceramic ball bearing and trace the detent from the lock scale to the detent hole.
Securing the inside liners
Be sure to screw it tightly so it will stay in place.
Double-check the centering of the knife and pivot detent
It’s important to check the centering of the knife and pivot detent when assembling the MP01A Shieldon Rain Knife.
This helps make sure that all parts are in place and secure, and that everything is balanced.
Put the pocket clip and tab
Finally, put the pocket clip and tab in place. Make sure to tighten it just enough that it won’t move or wiggle when you open or close the knife.
Extra Tip! If you want you can try to have it left-handed assembled
Simply reverse the pocket clip and filler tab to have it assembled left-handed.
Once everything is in place and secure, your MP01A Shieldon Rain Knife will be ready to use.
Test and enjoy!
Once you have finished assembling your MP01A Shieldon Rain Knife, it’s time to test it out.
Open and close the knife several times, making sure the blade is firm and secure as it opens and closes.
If everything looks good, then you can enjoy using your new knife! Make sure to take proper care of it to ensure its longevity.
Takeaways
Assembling the MP01A Shieldon Rain Knife is not a difficult task, but it does require some precision and attention to detail.
Taking care of your knife by regularly applying anti-rust oil and wiping down all components with an extra cloth will help keep it functioning properly for years to come.
With these tips in mind, you can confidently assemble this high-quality pocket knife like a pro!
So go ahead and enjoy using your new MP01A Shieldon Rain Knife – happy assembling!
Click to have more Shieldon EDC knives and tools fun.


