For those looking to take their gaming experience to the next level, disassembling and assembling a Shieldon DP01A Gambit is an excellent way to do so.
The DP01A Gambit is an EDC knife that resembles the look of a butcher knife but is designed to be carried and used in a variety of situations.
The handle knife is made from Double G10 and the blade material is made from 154CM.
This is a full-tang knife, meaning that the blade runs through the handle and both are made from one piece of metal.
Disassembling the Gambit may seem intimidating, but it’s actually quite simple. Read along to know more!
Steps on How to Disassemble the DP01A Gambit Knife
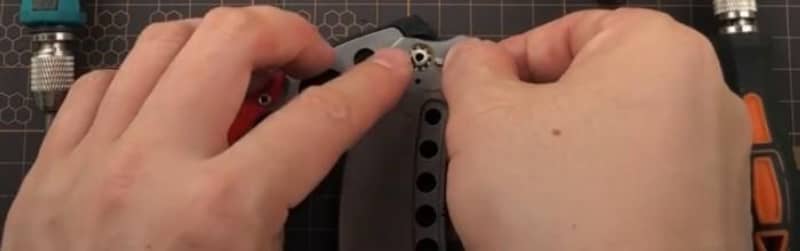
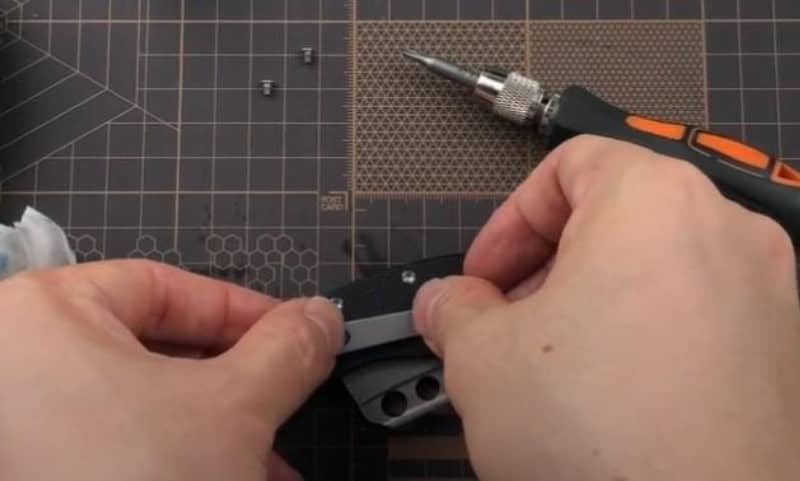
Start with the T8 screwdriver on the pivot and body
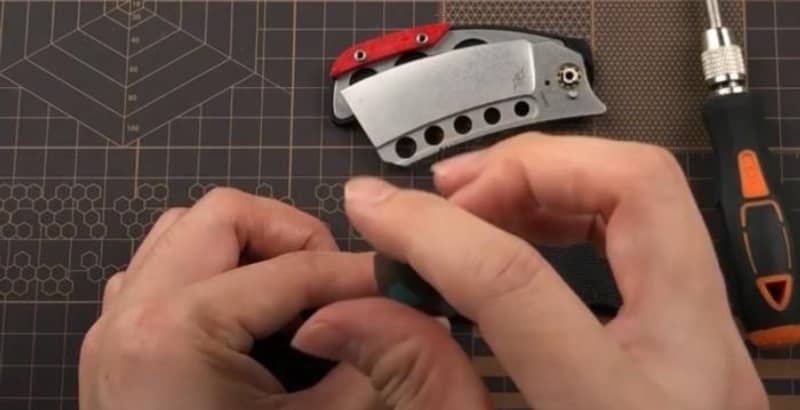
The T8 screwdriver is perfect for taking apart the Gambit EDC knife.
It helps unscrew the parts of the knife so you can take it apart and put it back together.
Start with the pivot and body of the knife.
Unscrew the pivot carefully, then move on to unscrewing the screws that secure the body.
Make sure you do this slowly in order to avoid damaging any of the parts.
Use the T6 screw to remove the pocket clip screws
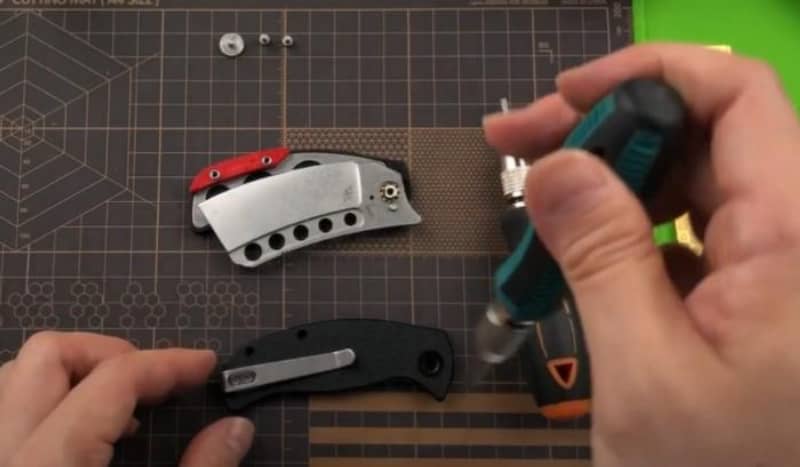
On the other hand, T6 is used to remove the pocket clip screws.
Use a T6 screwdriver to unscrew both of the pocket clip screws and then use your fingers or pliers to remove them from the body of the knife.
Remove the caged ceramic ball bearing by the pivot
The ceramic ball bearing is an integral part of the Shieldon DP01A Gambit knife, as it serves to provide both smooth and reliable functioning.
This bearing is made out of a specialized material that is known for its high strength and durability.
The ceramic ball bearing helps to reduce wear on the blade, making it easier to open the blade smoothly.
Firebrick backspacer

In the image, you can see the firebrick color backspacer.
Continue removing the parts one by one
Once you have removed the parts mentioned above, continue to remove each part of the knife one by one.
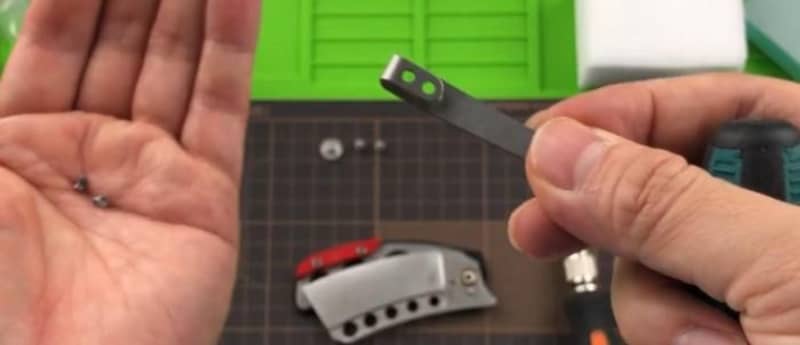
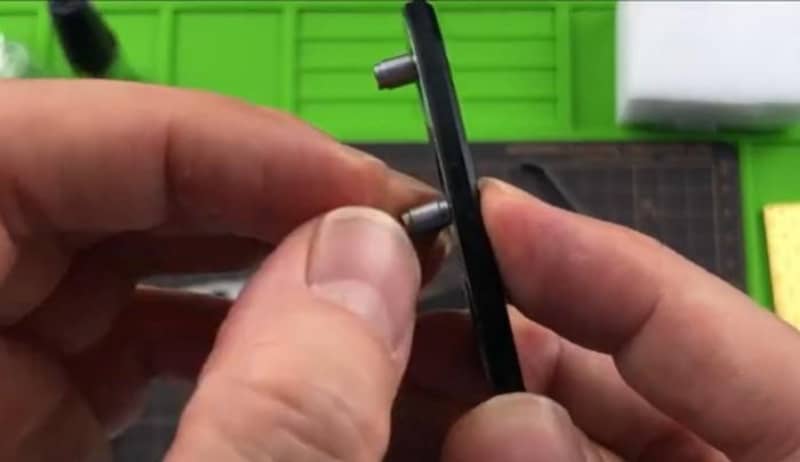
Pivot screw
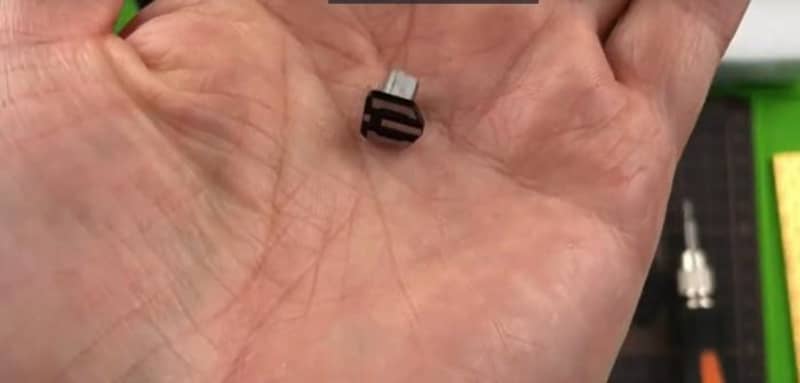
One of the toughest parts to remove is the pivot screw.
Make sure you twist it slowly and carefully to avoid damaging other parts of the knife.
Once you have removed this, make sure to put it in a safe place as you will need to reassemble it later.
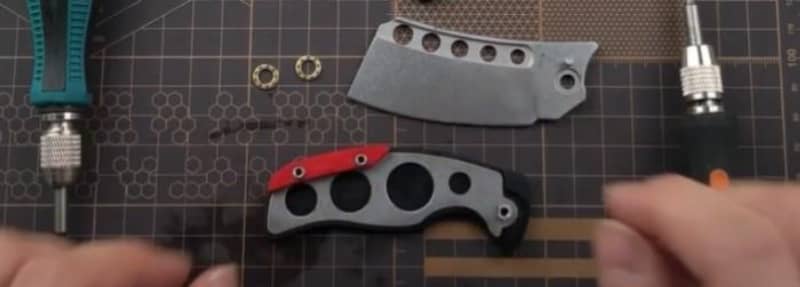
The final look of the disassembled Gambit knife
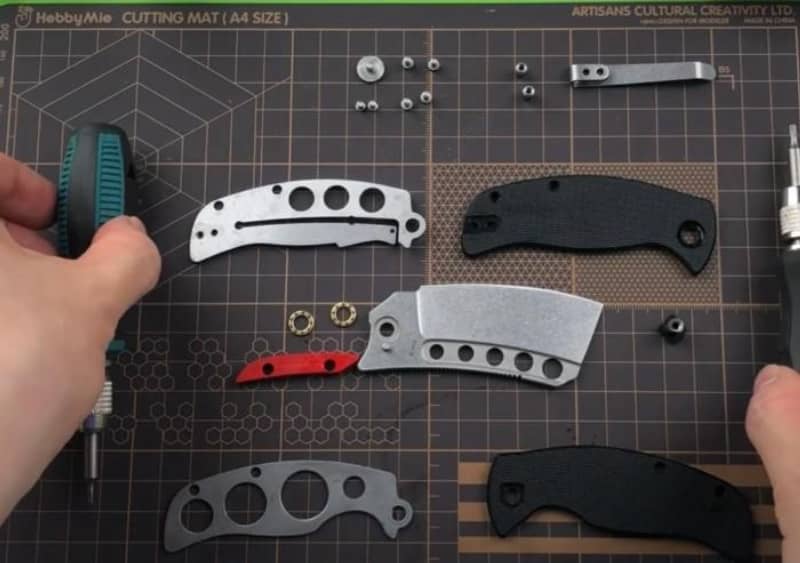
There you go! Make sure to place all the parts close together to avoid losing any pieces or misplacing them.
Now that the knife is fully disassembled, you are ready to assemble it.
Cleaning Tips: How to Clean the DP01A Gambit Knife?
Get the anti-rust oil and wipe
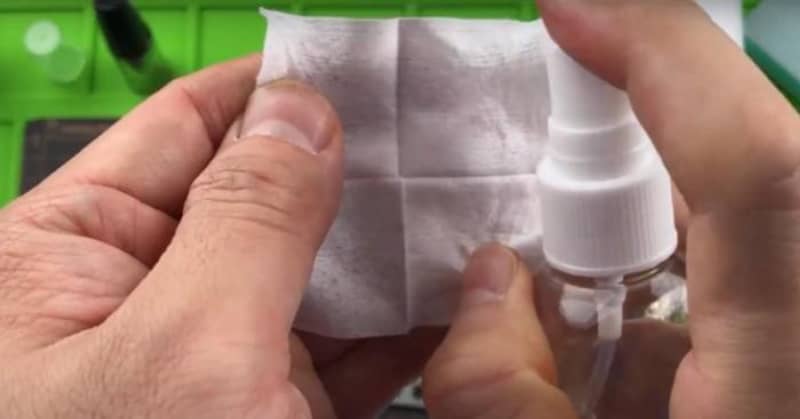
Anti-rust oil is an essential tool when it comes to maintaining and preserving the quality of your knives.
This type of oil helps prevent rust from forming on the surface, which can cause significant damage over time.
Not only does anti-rust oil help protect against corrosion, but it also provides lubrication for smoother operation of your knife’s parts.
Additionally, using anti-rust oil regularly can extend the life of your knife and keep it in optimal condition for years to come.
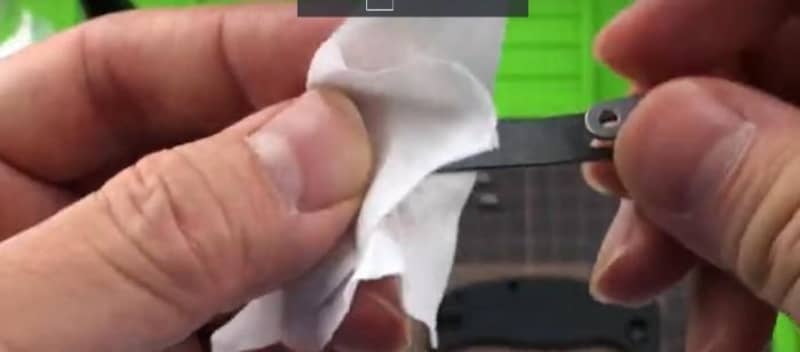
Wipe off the liners first
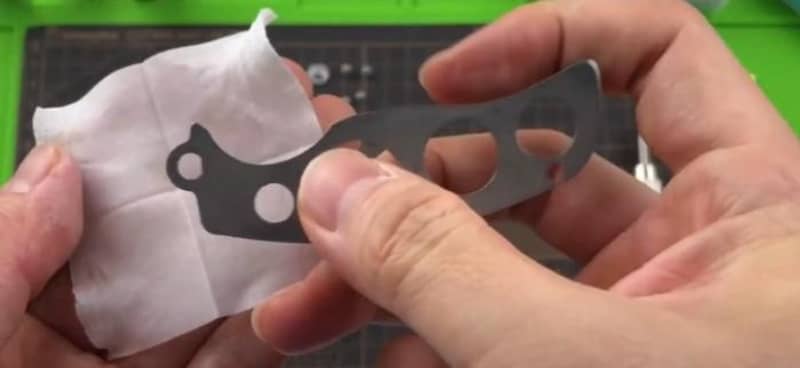
When it comes to cleaning your Gambit knife, start by wiping off the liners with a dry cloth and anti-rust oil.
This will help remove any dirt and grime that may have accumulated on it over time.
Once you’ve wiped the liner, use a damp cloth to wipe down the other surfaces of your knife.
Make sure to go slowly and pay special attention to any areas that may need extra cleaning.
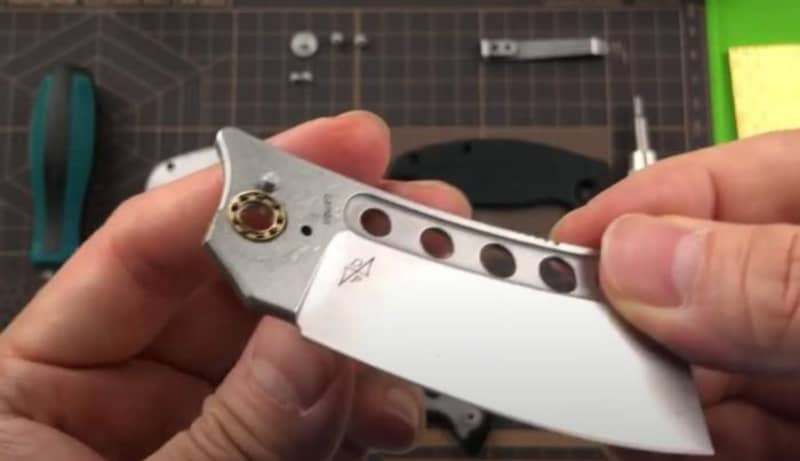
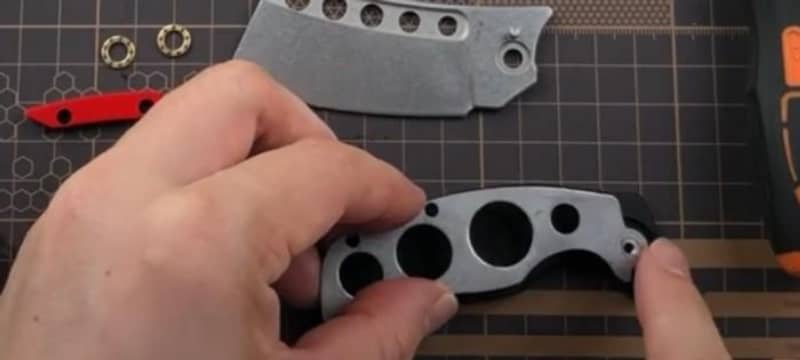
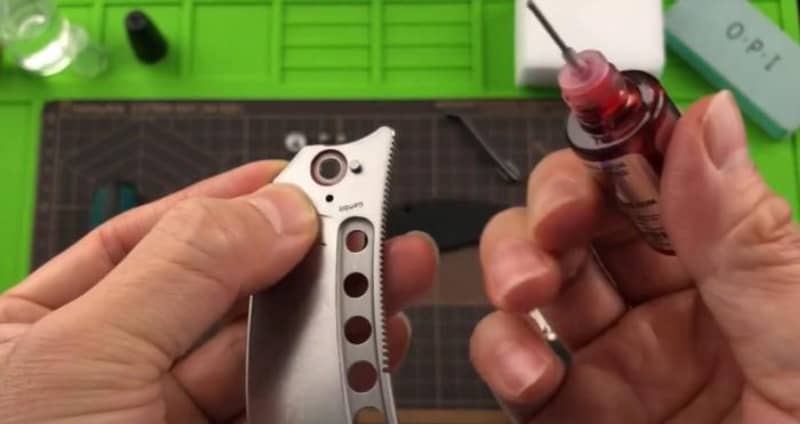
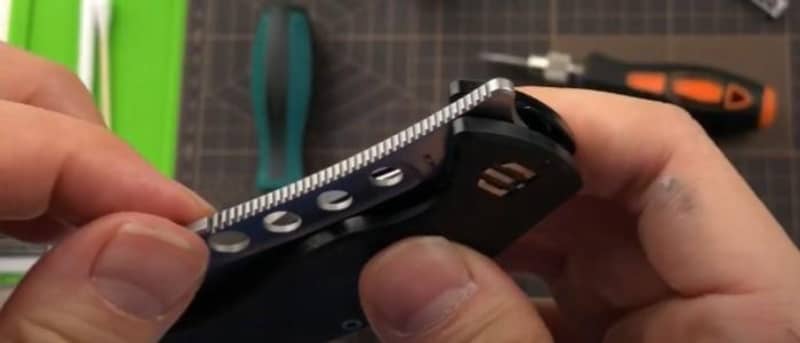
Next, the blade

As you can see in this Gambit knife, there are plenty of holes in the design structure that will require a bit of extra attention to clean.
Make sure to clean each hole and crevice without missing any spots. Don’t forget to wipe the jimping surface as well.
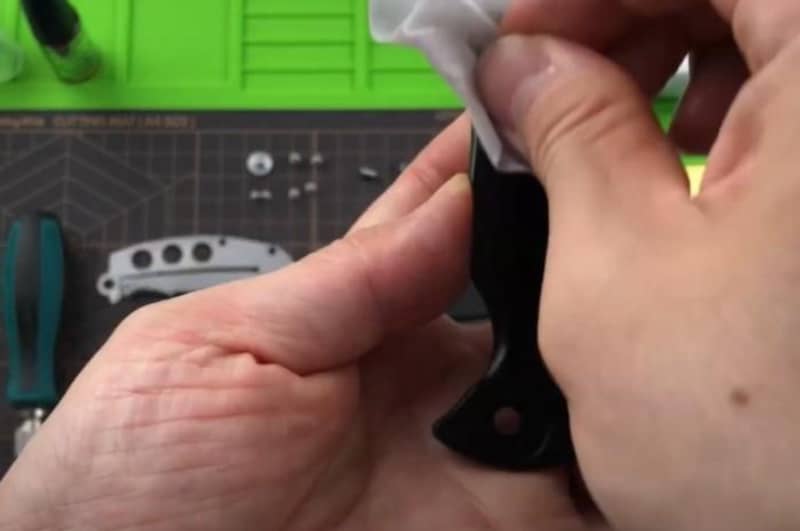
Wipe the pocket clip
Cleaning the pocket clip of a knife is an important part of maintaining it.
The pocket clip is where we usually carry the knife, and it is exposed to dust, dirt, and sweat.
To clean the pocket clip of your Gambit knife, use a damp cloth with anti-rust oil.
Wipe down the pocket clip thoroughly until no grime remains.
Wipe off the ceramic ball bearing, pivot, and the backspacer
The ceramic ball bearing is an integral part of the knife, as it helps to provide both smooth and reliable functioning.
Make sure to go slowly and wipe off any dirt or dust that may have accumulated on it over time.
The backspacer is also important to clean, as this is the part that holds the knife together.
How to Assemble the Shieldon DP01A Gambit Knife?
Put the pivot first

The pivot should go first when assembling the Shieldon DP01A Gambit Knife because it serves as the axis on which all other components of the knife are connected.
Without properly positioning and tightening the pivot, it is impossible to have a secure, stable, and balanced knife.
Place the show side liner
In the same way, put the show-side liner on one side of the pivot.
This is essentially a plate that helps cushion and protect the blade when it is closed.
Put the screws one by one on the backspacer of the knife
Once the show side liner is in place, it’s time to put back the screws on the backspacer of the knife.
This is an important part of assembling the Shieldon DP01A Gambit Knife as it helps to secure all other components together for a stable and balanced experience when using your knife.
Put lubricant to the two sides of ceramic ball bearing placement
Putting lubricant on the ceramic ball bearing of a knife is important for several reasons.
Firstly, it helps to reduce the friction between the blade and the body by reducing the amount of resistance that is felt when opening or closing the knife.
Secondly, lubricating the ceramic ball bearing increases its durability and longevity as it prevents rust and wear from forming over time.
Place the parts accordingly
Place the parts on top of each other one by one to assemble the knife.
Put the lockside liner and the scale to cover the skeleton of the knife
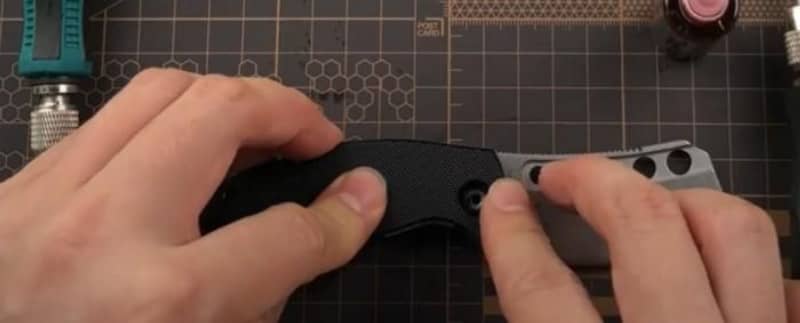
The lockside liner and the scale are what you use to cover up the inner skeleton of the Gambit knife.
These two components serve to both protect the internals of your knife and add an aesthetic touch to your blade.
Put 243 glue to fix back the pivot screw
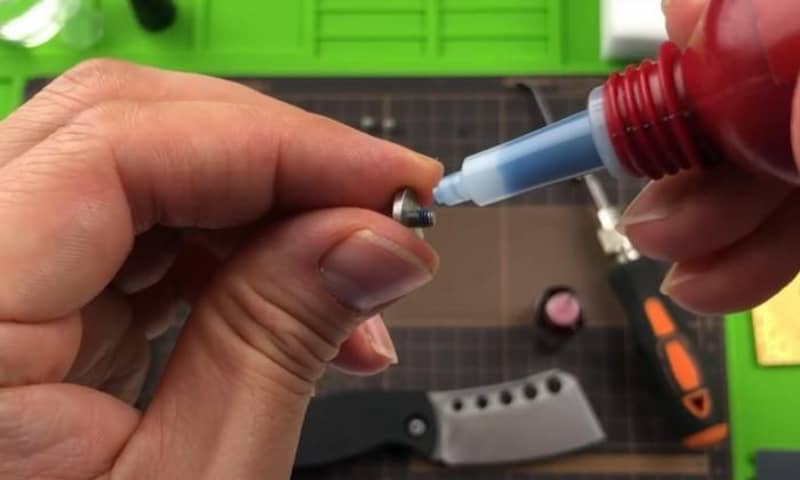
243 Glue is an essential tool when it comes to assembling and maintaining knives.
This specialized type of glue provides a strong bond between two surfaces, making it the ideal choice for securing parts together in a knife assembly.
Not only does 243 glue provide superior adhesion, but it also helps reduce wear on moving parts by creating a lubricating layer that reduces friction between components.
Furthermore, using 243 glue can provide protection against corrosion and rust, which can enhance the durability and performance of your knife in the long run.
Screw the rest of the parts
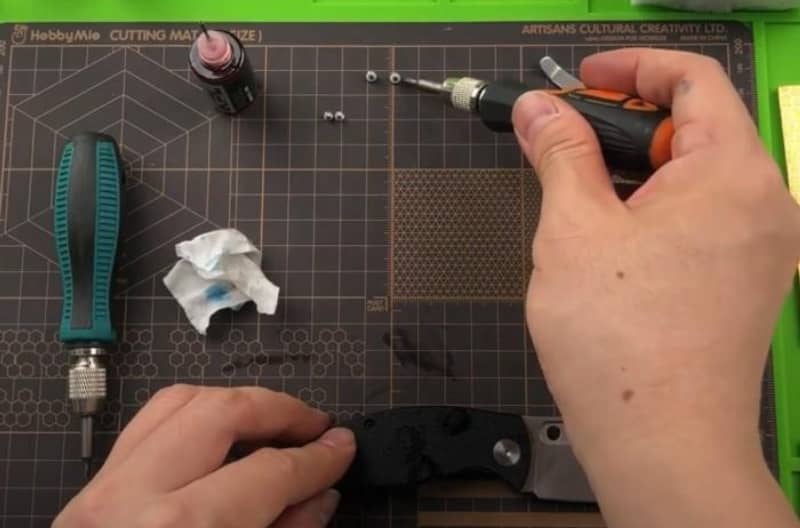
Once all of the components are in place, it’s time to screw them together to complete the assembly process.
Make sure that each part is securely tightened and properly aligned before moving on to the next one.
This will ensure that your knife is able to open and close smoothly and without any issues.
Check the centering of the knife
The last step in assembling your Gambit knife is to check the centering of the blade.
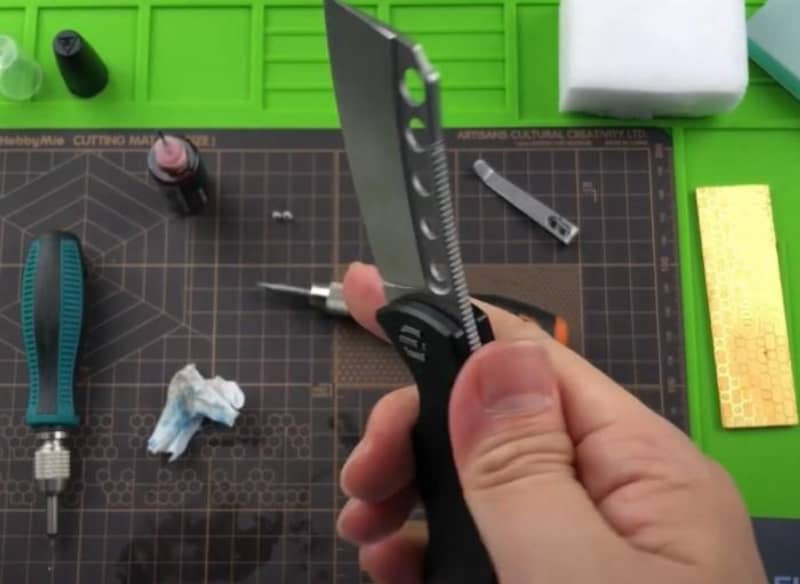
Make sure that the blade opens and closes without any wobbling or sticking and that it aligns perfectly with the show side liner.
Lastly, put the pocket clip in place
Do not forget the pocket clip as it is done, the last step is to put the pocket clip in place.
This will provide a secure and convenient way for you to carry your knife around with you wherever you go.
Once all of these steps are complete, you are now ready to enjoy your newly assembled Shieldon DP01A Gambit Knife!
Takeaways
With proper care and maintenance, this knife is sure to serve you well for years to come.
Assembling and disassembling a Gambit knife is not as difficult as it may seem. With the right tools, knowledge, and techniques you can easily take apart your Knife for cleaning or repairs.
The steps we’ve outlined in this article should provide a comprehensive guide to help you get started on maintaining your own DP01A Gambit Knife.
So what are you waiting for? Get out there and start assembling that perfect blade today!
Click to have more Shieldon EDC knives and tools fun.


