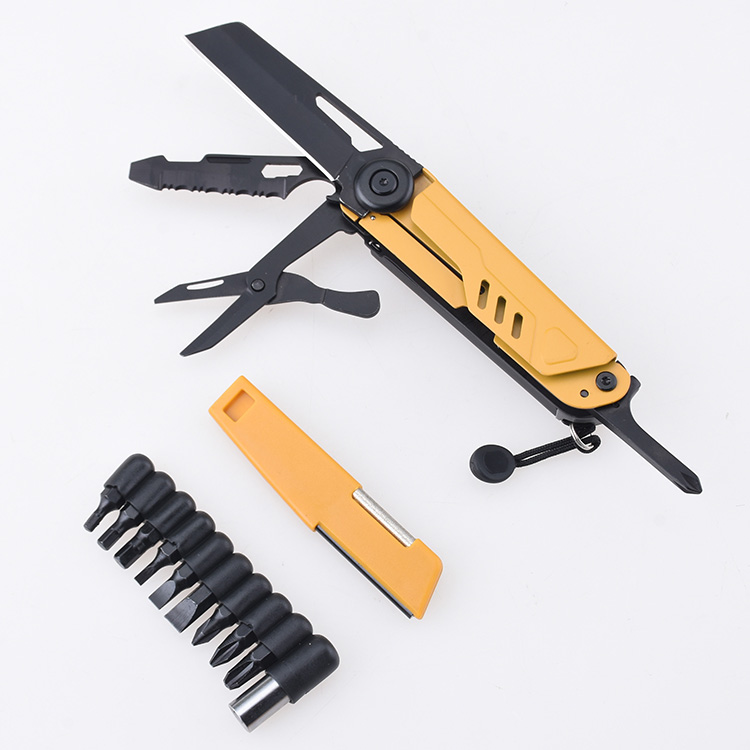
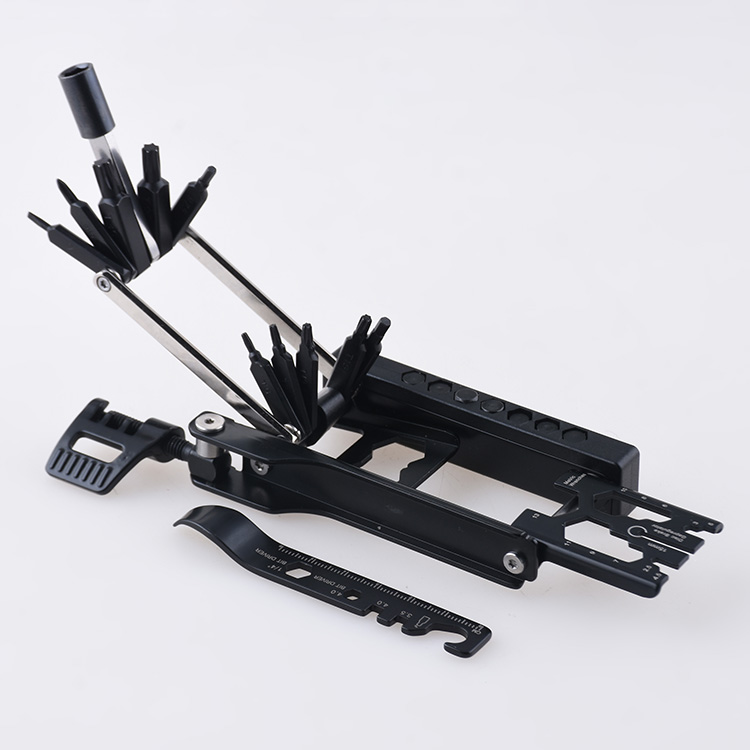
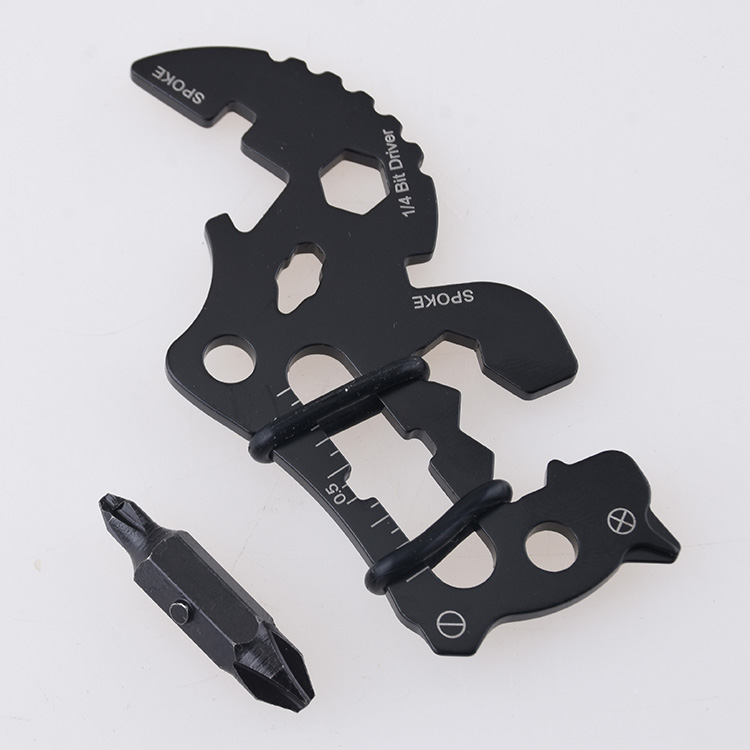
Imagine a craftsman shaping metal and composite, one stroke at a time, forging a versatile herramienta multiple that fits in your pocket. The multi-tool manufacturing process brings together materials science, precision engineering, and cutting-edge inspection methods to create a reliable everyday companion. From selecting aerospace-grade alloys to laser-assisted positioning during final assembly, every step ensures performance and durability. In this article, you’ll explore every phase of how a multi-tool is made, from Handle Manufacturing to Customized Packaging, and everything in between.
Handle Manufacturing
Materials Selection and Pre-treatment
Before any shaping begins, choosing the right materials is key. Metals like 6061-T6 aerospace-grade aluminum offer a lightweight foundation, while 17-4PH stainless steel brings high strength, and TC4 titanium alloy resists corrosion and cuts overall weight by 30%.
Table 1: Common Handle Base Materials
| Material | Property | Benefit |
| 6061-T6 Aluminum | Density: 2.7 g/cm³ | Ligero |
| 17-4PH Stainless Steel | Yield Strength: 1,000 MPa | High strength |
| TC4 Titanium Alloy | Corrosion Resistance: Excellent | Long-lasting in harsh environments |
Non-metals like glass fiber reinforced nylon (GF50%) and carbon fiber-PEEK composites bring flexibility and high-temperature resistance, with plasma treatment boosting surface energy above 42 mN/m for effective coating adhesion.
Analogously, it’s like choosing the best fabric for a jacket: you want something weatherproof yet breathable.
Core Technologies for Mold Development
Reverse engineering kicks things off with a blue light scanner such as GOM ATOS Q. The scan produces an exact 3D model, then Moldflow Analysis ensures a filling balance above 95%, so no thin spots sneak in.
Table 2: Mold Development Key Specs
| Stage | Standard | Equipment/Tech |
| Reverse Engineering | ISO 2768-mK tolerance grade | GOM ATOS Q Scanner |
| Moldflow Analysis | ≥95% filling balance | Hot runner synchronous control |
| Mold Machining | Mirror EDM (Ra ≤ 0.1 µm) | Makino V80S 5-axis mill + laser (±0.005 mm) |
This mirrors how a tailor cuts cloth: precise measurements and high-fidelity patterns ensure each piece fits perfectly.
Upgraded Forming Processes
Metal Handle Stamping employs servo hydraulic fine stamping, controlling punch clearance within five times the sheet thickness and ensuring over 85% bright shear zones. Progressive dies integrate punching, flanging, and embossing in one stroke.
Non-Metallic Injection Molding features MuCell microcellular molding that trims weight by 15% and holds dimensions to ±0.02 mm. In-Mold Decoration (IMD) embeds logos and textures with abrasion resistance surpassing 5,000 cycles, akin to embossing a book cover for a lasting impression.
Precision Machining & Treatment
Once the rough shape exists, precision taps (extrusion M6×1) are inserted, checked 100% with go/no-go gauges, and tested for torque at or above 8 N·m.
Additional steps include magnetic chamfering that pats edges to R0.2±0.05 mm using ceramic media, and deep hole drilling (Φ3±0.01 mm) holding coaxiality to within 0.03 mm. Finally, micro-arc oxidation paints on a 30 µm ceramic coating with hardness HV1500 and over 1,000 hours of salt spray resistance (ASTM B117).
It’s a bit like polishing a gemstone: each facet is refined until it gleams and meets exact specs.
Functional Component Manufacturing
Blade Components
High-performance blades use CPM-S90V powder metallurgy steel with a Z-FiNit coating that slashes friction below 0.15 and triples tool life. Blades then receive vacuum oil quenching and a 24 h cryogenic plunge (-196 °C), hitting HRC62±0.5 hardness.
Table 3: Blade Heat Treatment
| Step | Parameters | Outcome |
| Vacuum Oil Quenching | 1,000 °C soak, oil quench | Even hardness |
| Cryogenic Treatment | -196 °C for 24 h | Microstructure refinement |
| Final Hardness | HRC62±0.5 | Scalpel-level sharpness |
The edge is laser-sharpened on five axes (1,070 nm, 800 W) within ±0.1°, then electrochemically honed to edge radii under 5 µm.
Transmission Gear Set
Tiny gears are formed via Metal Injection Molding (MIM) to ≥7.8 g/cm³ density and ≤0.1% oxygen. Vacuum sintering at 1,350 °C for six hours yields ASTM grain size 10.
Gear teeth finish with DIN 3962 grade 4 hobbing and shaving, tooth surfaces smoother than Ra0.4 µm, while an AI-driven digital twin monitors production, ensuring 99.99% defect rejection.
Mecanismo de bloqueo
Maraging steel forms the core, reinforced by a 0.2 mm WC-Co coating via laser cladding. Precision wire EDM slices parts with ±0.003 mm accuracy, then 3D force sensors confirm unlocking forces of 15–20 N.
Bearing System
Bearings feature graphene-copper self-lubricating cages and dual-lip seals. Ceramic balls are HIP sintered to 0.1 µm roundness, while SLM titanium cages reduce weight and maintain rigidity.
Semi-Finished Product Inspection
Modern Inspection Process
Every part undergoes dimensional checks via calipers, projectors, and automated 3D scans (ISO 2768-mK). Functional tests cycle over 5,000 operations, and deep-learning vision systems spot >99.9% of surface defects. Materials face hardness testing and XRF composition checks.
Table 4: Inspection Standards
| Inspection Item | Method | Standard Reference |
| Dimensional | 3D blue light scan | ISO 2768-mK |
| Surface Defects | Deep learning machine vision | IASTM F2982 |
| Resistencia a la corrosión | Salt spray + cyclic CCT | IASTM B117 |
Newly Added Critical Inspection
Stress distribution uses photoelastic analyzers to keep residual stress factors under 1.8 (ASME BPVC). Microstructures are checked with metallography for ASTM grain size. Rotating parts see dynamic balancing under 0.5 g·mm/kg imbalance.
Final Assembly
Pre-Assembly & Fastening
A six-axis robot simulates trial assembly to ±0.01 mm accuracy. Rivets go in via pneumatic presses monitored by acoustic emission, keeping force variance to ±3%. Silicone grease is micro-dosed at 5±0.5 µm thickness, and torque wrenches with CNC pulses nail fastener repeatability to ±1%.
Laser-assisted positioning projects guidelines with 0.05 mm precision, ensuring every piece aligns like a puzzle.
Functional Testing Matrix
Multi-tools endure 50,000 open-close cycles per MIL-STD-810G, hydraulic loading up to 200 N for locking, and IP67 dust-water tests under IEC 60529. Ergonomics get stress mapping with sensor gloves per ISO 9241.
Inspection & Testing
Functional & Environmental Tests
Blades slice through standard rope; main blades open and close 500 times. Salt spray confirms rust resistance, while -20 °C to 60 °C cycles validate structural integrity.
Safety tests hunt burrs and verify locking strength to prevent accidental closure under load.
Laser Marking
Laser engraves logos, model numbers, and safety warnings to depths of 0.05–0.1 mm on metal; UV lasers mark coated areas without damage.
Cleaning and Protection Treatment
In an ISO Class 7 cleanroom, no visible residue remains after FDA-approved swab checks. Short-term VCI paper wraps last six months, while long-term bio-based anti-rust oil shields components in compliance with REACH.
Customized Packaging
Tiered Solutions and Anti-Counterfeiting
Economy packaging uses FSC-certified corrugated boxes and EPE inserts, while premium kits feature anodized aluminum boxes with magnetic closures. QR codes link to batch reports, and invisible UV codes deter fakes.
Cartoning and Label Management
Products are vacuum-packed with desiccants, manual compartmentalization holds accessories, and ISTA 3A-tested cartons withstand 400 kg loads. Smart labels trace materials and QC inspectors, while IATA hazard labels meet air cargo rules.
Envío
Options include DHL/FedEx door-to-door in seven days (15–25 °C), FCL or LCL sea freight with DDP/DAP terms, and China-Europe rail in 18 days with GPS tracking. Customs paperwork spans invoices, MSDS, and optional FCC/CE certificates.
Environmental Disclosure and Sustainability Statement
CNC emulsions go through demulsification and bio-treatment to GB8978 standards, while heat treatment emissions scrub via activated carbon to meet EPA rules. Packaging cuts plastic usage to 5%, hitting 90% recyclability, and each batch reports CO₂e emissions.
Conclusión
Cada herramienta multiple combines science, engineering, and quality controls to achieve a tiny powerhouse of functionality. Next time you reach for your trusted pocket companion, remember the dozens of precision steps—from plasma-treated handles to laser-guided assembly—that ensure it never quits on you.


